Monday, September 2, 2013

Classroom Reveal 2013!

Well, this is it! My very first classroom reveal! I am so excited to share what all of my hard work has accomplished and hope you enjoy the tour! This is coming out quite a bit later then I had intended, I always forget how overwhelming the first couple weeks of school are!

Anyway, on to the tour...


We will start with the front door. The shelves will hold our coupons and supplies for our classroom store.


We have our cubbies along the back wall and the "bulletin boards" where we will hang our exemplar work. They are actually just fadeless paper attached to the wall with a border around it! I added the scrapbook paper and clothespins to hold the work. The signs in the center are chalkboards I made to display the standard/scale that goes along with the work.


Here we have some supplies (crayons, glue, etc.) and our mailboxes. We keep the crayons sorted by color in the little white drawers so they are easy to find.

Here is our word wall, lunch basket, etc.

This is our listening center and display for our student of the week.

Student of the week display, the student's picture goes in the center of the flower, then they write facts about themselves in the petals with a dry erase marker.

Listening center

Side wall- storage, behavior chart, job chart, etc.

Homework club and brownie points pan (for class compliments)


I've been using baking pans for a lot of different things. They take up so little space and are really inexpensive! I got all of these at the dollar store! Here they are being used for our behavior chart, writing process chart, writing goals, and related arts sign.


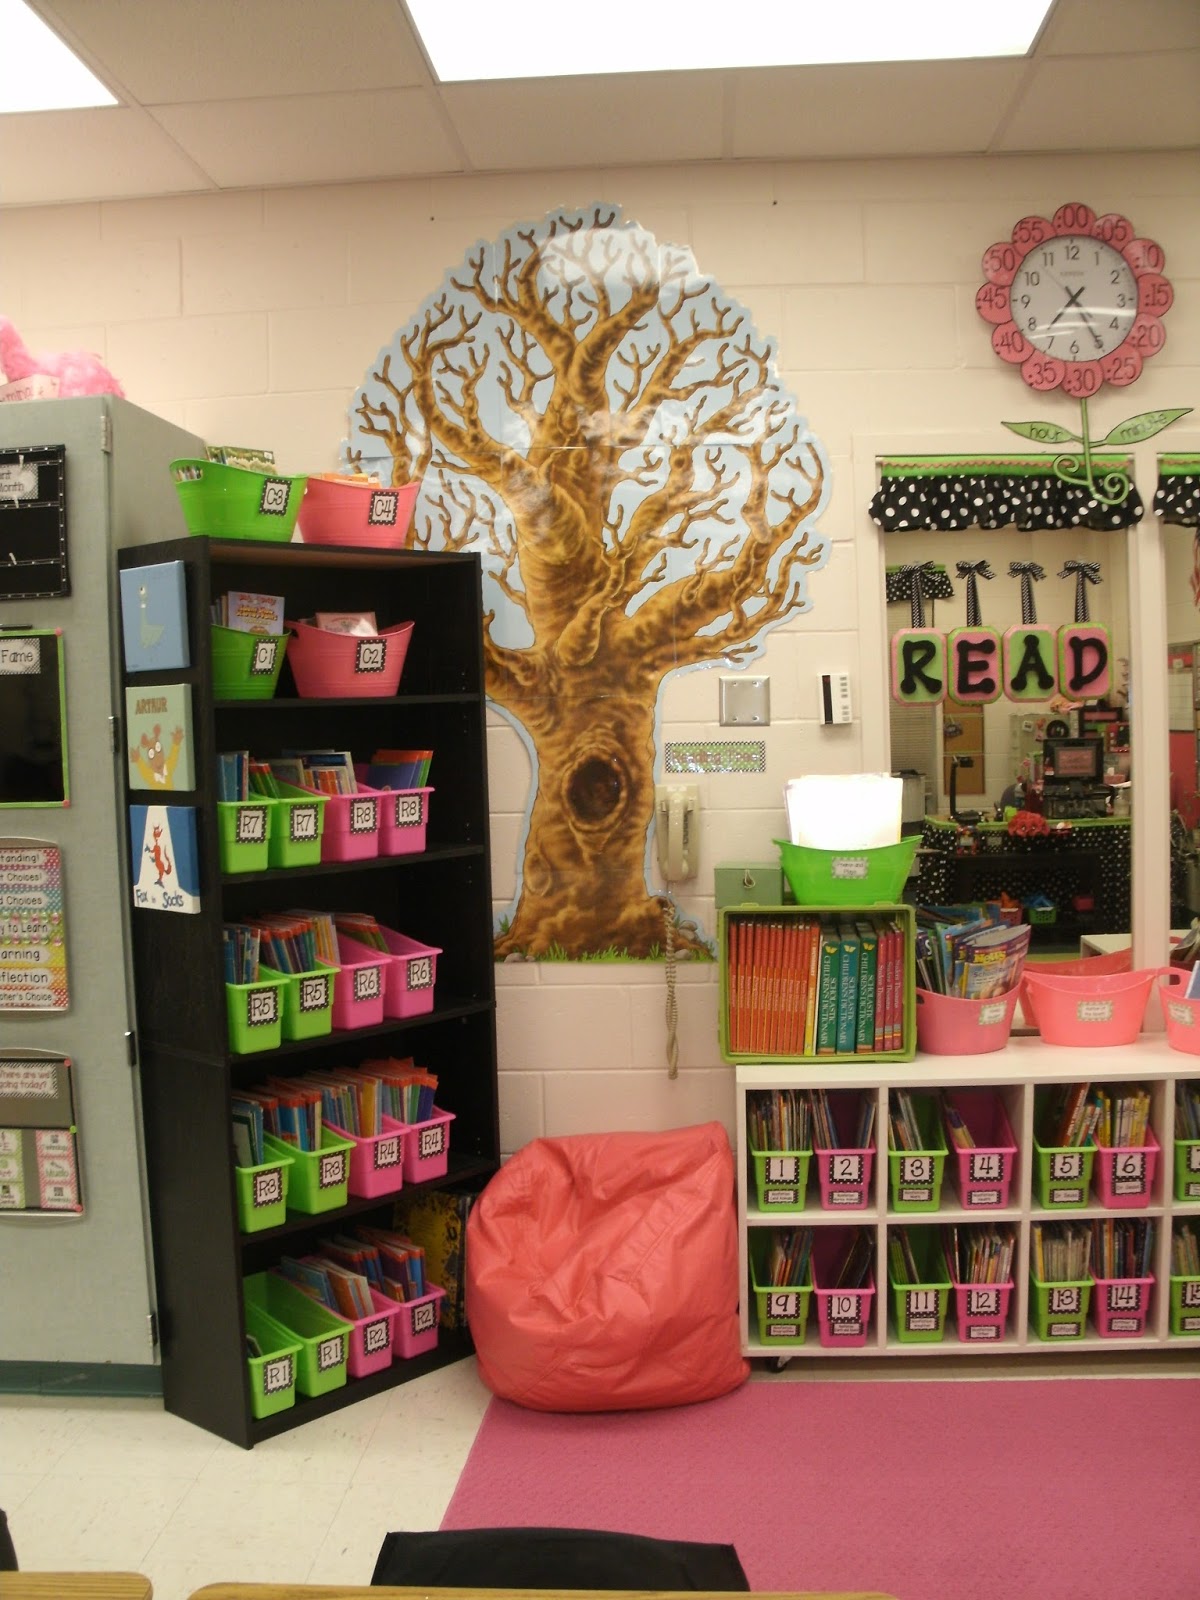
This is my favorite part of my classroom! I LOVE my library! I wasn't able to have a space where kids could sit and read in my classroom last year, so I am loving this space! We keep our leveled readers in the tall bookshelf and other books in the cubbies.


Birthday display and classroom community poster (I will be adding pictures of us throughout the year. This was a big hit last year!)

Here we have our word work drawers, headphones for our mp3 players, pointers, focus board and pocket chart for content vocabulary. The focus board was an oil pan for under a car that I painted with chalkboard paint. My mom made the pocket chart to match my room last year.


Front board with noise levels chart.

 Our rug, made with carpet squares from flor.com. I LOVE this rug and it was really easy to put together!

Share chair, management tools, and my teacher stool.


 My teacher area- my mom made the skirt to go around my desk. Notice the flamingos on the filing cabinet! :)


Guided reading area/books/my supplies. I am working on a green cover to go over the science boxes on the left so they will look better. :)


We keep our reading bags and guided reading notebooks in the colored baskets.


 Computers/rules


 Rules (classroom rules on the left, school expectations on the right)


Here is the view from the front door.


 Pink table and their supplies


Blue table and their supplies


Orange table and their supplies


Green table and their supplies


Well, that's it for my very first classroom reveal! I hope you enjoyed the tour and will leave a comment to let me know what you think!

Victoria


Wednesday, August 14, 2013

Good News, Bad News

Well, another day of our planning week is done, two left before we start school on Monday! Meet the Teacher night is fast-approaching and I am really looking forward to meeting my students! As of today, I have 18 students which is a higher number than I have ever started with before. I think the last couple of years I started with 14 or 15 before I got a few new students.

Anyway, I have some good news and some bad news.

The good news is that my classroom is 99% complete, has been met with very good reviews from my fellow teachers (people from different grade levels are coming over to see it!), and I should be ready to take pictures for my first classroom reveal tomorrow!

The bad news has to do with my future classroom pets. My five poor little glofish all met an untimely end over the last few days. I was sad to see them go and have decided not to bring any new fish into the classroom. If I was sad to see them go, I'm sure my students would be even more so.

I was getting ready to empty out/clean the tank when I started to notice something odd. There were these tiny little glowing specks that were darting around the tank...

My fish laid eggs!!! Now, I was pretty surprised to count at least 30 fry (baby fish) because when I talked to the person at the pet store she was very adamant that glofish are difficult to breed and I wouldn't end up with a tank full of fry. I just picked up a pack of fry food and am hoping that a few will survive to adulthood. From what I can see, they are growing VERY fast. I have seen several pink, orange, green and purple so far, which I am taking to mean that all of my fish had some part in this little population explosion.

My tank can only support 5-6 adult glofish so I may be needing a bigger tank in the near future...

Sincerely,
The New Fish Mommy
Victoria

Monday, August 12, 2013

Made it Monday - August 12

Well, today is the day... the first day of school for teachers! Although I was in my room all weekend, I am feeling very behind in my room preparations, so I will definitely be staying late this week. Our Meet the Teacher night is Friday and I want everything to be 100% done before then...

I'm linking up with Fourth Grade Frolics for another Made it Monday and I am especially proud of my projects this week!


Project #1: Polka Dot Lamp


I found a plain black lamp base and shade at Target and decided that they would be perfect for my desk. I hot glued the beaded trim around the bottom of the shade and then put the polka dot ribbon over the top. Then I cut out circles from some extra scrapbook paper. I used a hole punch for the small ones, but had to cut the larger ones by hand as I didn't have a punch. It took a while, but I really like the results!


Project #2: Classroom Helpers Chart

I have been wanting to re-do my job chart for ages but haven't been able to decide on what I wanted. Then I saw this pin. Amazing! I tweaked it a little based on the materials I had, but I think it came out really nice!


 I started by gluing cork tiles to poster board so that it was all one piece. Then I covered them with black felt and a sheer black glittery fabric. I hot glued the ribbon and my self-made paper pockets (which I am very pleased with!), as well as my job labels.


As for the number sticks, I painted some short popsicle sticks black and glued on some wood circles that I had glittered with mod podge.


My last step was to add the little white clothespins that I came across in Joann's the other day. It looked a little plain (well, I thought so anyway...) so I added the rhinestones to the clothespins.


Project #3: Tissue Box


I am really focused on getting everything to match this year, so I had this idea... what if the tissue box was polka dotted too?!


I found a plain wooden tissue box case and painted it black. I added my white circle labels for the polka dots and gave it a spray with an acrylic top coat. The bottom slides open and the plain tissue box fits inside. I realize that not all tissue boxes are this shape, but I am not going to think about that just yet. I am too happy with my pretty polka dot tissue box. :)

Victoria


Sunday, August 11, 2013

Back to School Blogger Exchange!

A few weeks ago I signed up for the back to school blogger exchange hosted by Adventures of Ms. Smith and Covered in Glitter and Glue. I had a lot of fun shopping for my partner!


Blogger Exchange


My partner was Lola from Preschool Wonders and she picked out the perfect back to school goodies! Thank you so much Lola!


The giant paperclips just happen to match my table colors, so I will have my table captains use them when they turn in the table's homework. I had actually been eyeing that pink tape for a while, I already had the green to section off my whiteboard so now I can have alternating colors!

Although I love all of my gifts, I must admit that the flamingo stamp is my favorite! (surprise, surprise!) I know that the kids will love getting it stamped on their papers, because although my students usually come in to my classroom not really knowing what a flamingo is, they end the year loving them!

Victoria


Wednesday, August 7, 2013

What I'm Loving Wednesday - August 7

I'm linking up with Covered in Glitter and Glue for my first What I'm Loving Wednesday!


Covered in Glitter and Glue


This week I am loving my new pets! I just got them this morning and am beyond excited! They are called glofish and will be joining us in the classroom this year! I am really looking forward to having them in the classroom and am sure the kids are going to love them!


(Excuse the blurry pictures, these little guys are FAST!)


Naturally, I made a friendly little reminder to go next to the tank... 


...and a who's who of our aquarium! (Those aren't pictures of our actual fish... I found them on Google! Shhh! Don't tell!)


I decided on naming the fish after some of (what are usually) our favorite characters, Sylvie is my favorite! Although, if you've never read Listen, Buddy, I highly recommend it!

I haven't printed the sign yet, so I may still change my mind on a couple, but for now, these are their names!

Now all I have to do is move them and their heavy tank to school.... it is going to be quite the adventure!

Victoria


Monday, August 5, 2013

Made it Monday - Share chair, whisper bell, and read the room pointers

I'm linking up with Fourth Grade Frolics for another Made it Monday!

4th Grade Frolics


Project #1: Share Chair

I have been seeing various forms of a share chair all over pinterest and was looking for a chair that would work.


I found this child's size rocking chair at a local thrift store for $15. It was perfect! I sanded and painted it black. Then I added the polka dots with pink, green, and white paint and q-tips. This took forever! I kept having to change out the q-tips because they didn't hold their shape for more than 20ish polka dots. What an ordeal!


Then I printed the title and poem on the computer. I attached them with mod podge and sprayed them with hairspray as a sealer. I am hoping it will prevent the ink from running when I go to spray the top coat.... we'll see!


Project #2: Whisper bell
I started using a whisper bell last year after I saw it on Teacher Tipster. If you have never seen any of the teacher tipster videos, I highly recommend them! I have gotten tons of great ideas from him.

Anyway, the idea of a whisper bell is that you ring it when the noise level gets above a whisper (I use it during literacy centers) and the students must all respond with a whisper of "whisper bell." I like that they have to acknowledge the bell. If the noise level continues above a whisper we lose one minute of recess for each subsequent ring of the bell. I think we only ever lost maybe 5 or six minutes in all of last year! After the first warning, I can hear some of them whispering to their louder classmates- "shhh! remember whisper bell!"


I took a plain old bell and added some rhinestones I found in my desk drawer. That's it! Just added some sparkle!


Project #3: Pointers
I have been doing this for the last couple of years and the kids really enjoy using them. I take pre-painted wooden shapes from the craft store and hot glue them onto a dowel rod that I paint. I have a bunch of different ones and the kids LOVE to go pick their pointer for our morning message/reading big books/etc.


I've had these particular shapes sitting around for ages and finally got around to painting the dowels to match!


I will be going into my classroom for some serious organization today, wish me luck!

Victoria