Well, this week I have three pretty big made-its to share! I have been working really hard on getting as much work done at home as I can since I don't know for sure when I will be able to get into my classroom.
New classroom colors + 100% bare classroom + unknown start date = one stressed me!
New classroom colors + 100% bare classroom + unknown start date = one stressed me!
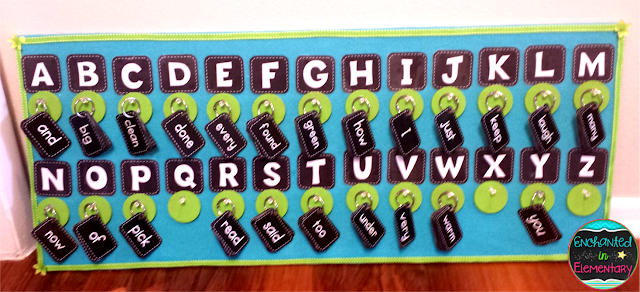
My first made-it this week is a continuation of last week's word wall cards. I had planned on waiting to put together the word wall board until I got back into my classroom, but I am getting too anxious about how much I will have to do!
I didn't have the measurements for where I want to put it, so I have fingers crossed that it will fit. I'm about 90% sure that it will...
I started by cutting some foam board and taping a couple of pieces together so I could get the length I needed.
I found these corkboard circles at Michael's for 70% off a couple of weeks ago. My first thought upon seeing them- polka dots!
I began the long task of painting them green.
I used fleece to cover the foam board and hot glue to stick the corkboard circles on. My last step was to add some ribbon, the letters and pushpins for the sight word rings.
I am so in love with this! I think it may be one of my favorite made-its ever!
My next project is one that I have wanted to do since last year. I made hall pass/media center pass displays last year, but then I had to change my passes from ones that went around the wrist, to ones that were necklaces (I had some particularly destructive little friends!)
 |
| Last year's hall pass storage |
Anyway, the necklace passes were too long to hang nicely inside the frame and I didn't like how messy they always looked.
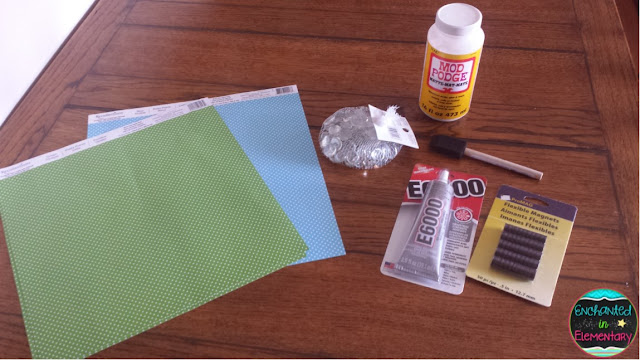
For this project, I found these wooden tags on clearance at Michael's and painted them with craft paint, and mod podge as a topcoat.
I love how bright they are!
My last made-it this week is a display that I will use for pictures that we take around the classroom. I have done this for the last few years and the kids LOVE it!
I started with this plain wood frame and painted it green.
Once it had dried, I stuck those little circle labels on and painted over the top with turquoise.
I removed the circles when the turquoise paint was dry to make the green polka dots. I had to touch-up a couple of the polka dots, but it was still way faster than doing them all by hand!
For the backing, I used part of a cardboard box that I had broken down for recycling and covered it with two layers of green felt (I seem to have gotten a bad batch of felt, it was very thin and you could see the brown box through one layer).
The last step was to add the ribbon (glued at both ends, and in three spots) and, mini clothespins for hanging the pictures, and wide ribbon for hanging.
That's it for this week's made-its. Next week will feature some made-its that I had some help with!
 |
| Best classroom helper ever (aka Mom) hard at work on next week's made-it! Make sure you stop over at 4th grade frolics and check out all of the great made-its! |


